


The Generic Record Event activates an automation based on user interactions linked to a specific record, such as button clicks. When the event is triggered, the automation runs on the particular record associated with that interaction.
Buttons can be added and configured in various parts of your interface, allowing users to activate automation through different entry points:
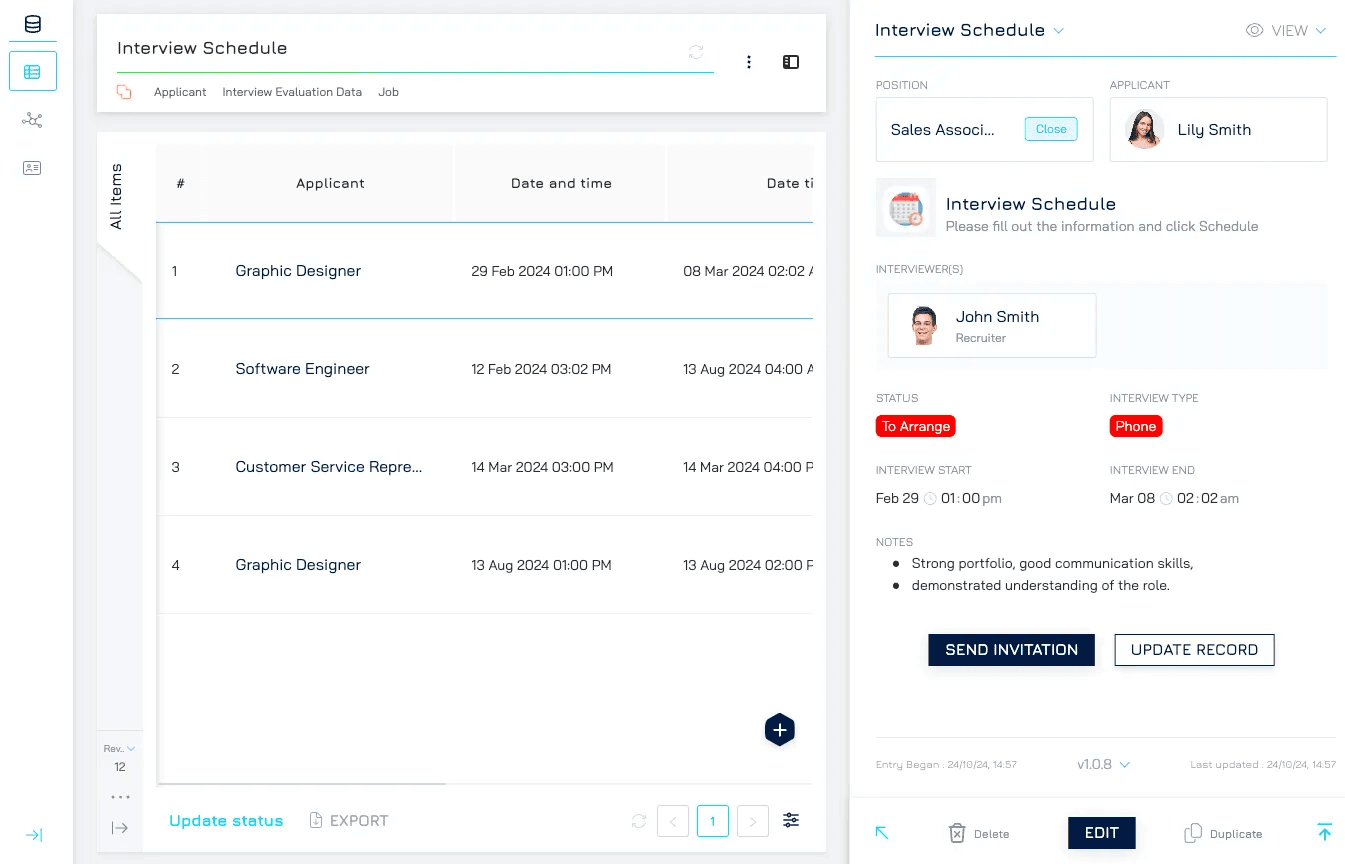
Table View: Users can trigger actions on records directly within a table.
Form: Users can activate automation actions for individual records in form view.
Automation Email: Provides an interactive button within an email, allowing users to trigger automation from their inbox.
Add a Button to Table Views
Add a button to the table view to allow users to activate specific automation actions associated with each record.
Steps to Create a Button in Table View
Set Up the Automation with the Generic Record Event Trigger.
Add a Button to the Table View
Open the Query Settings in your table view.
Under the Buttons section, click + Button to add a new button.
Button Settings
You can customise the following settings for your button:
Scope: Select Record to ensure the action is tied to a specific record.
Appearance:
Button Label: Provide a unique label to identify the button.
Type: Select Primary or Secondary to determine the button’s visual style and emphasis. Choose Primary for high-priority actions and Secondary for less critical actions.
Behavior:
Action: Link the button to the automation action set up with the Generic Record Event Trigger.
Wait for Automation Completion and Reload Changed Data: Enable this if the data is likely to update as a result of the automation. This setting ensures the table view refreshes once the automation completes, displaying the most recent information.
Save and Apply
After configuration, click Save to confirm the button setup, and Apply to make it available in the table view.
Note: This button is specific to the query where it's added. It becomes visible when hovering over a record and triggers actions on that particular record.
Adding a Button to Forms
Add a button to a form to let users trigger automation for individual records within the form.
Steps to Add a Button in Forms
Set Up the Button in a Query
Before adding a button to a form, ensure it has been created within a dataset query.
Add the Button to a Form
Open the desired form and select Edit Form Design.
Choose the desired position for the button, click + to add an element.
Navigate to the Components tab, select Action Bar, and click Next.
Configure Action Bar Settings
Inherit From:
Auto: Automatically selects an existing Action Bar from a Form Variant or Dataset Query.
Dataset Query: Choose the query where the button is set up.
Layout:
Alignment: Adjust alignment to position the button as needed.
Finish
Click Done to finalise the settings.
Note: Only one Action Bar can be added per form.
Adding a Button to Automation Emails
Enable users to trigger actions directly from an email by adding a button that links to an automation action.
Steps to Add a Button in an Automation Email
Set Up the Automation with the Generic Record Event Trigger.
Add Button to Automation Email
Create an automation with a send email action
In the email automation settings, navigate to the Actions tab.
Configure Button Settings
Click + Add Button to insert a new button within the email.
Define the Label to clarify the button’s purpose.
Customise the colour and style of the button, selecting between Primary and Secondary types to match the visual priority of the action.
Link the Button with Automation
Under the Link section, select Open Record by Model Ref or Primary Key and specify the data source for the mapping.
Check Run Automation and select the specific automation action to be triggered by the button.
Require User Confirmation: Enable this setting if users should confirm before running the automation. When enabled, users will receive a prompt to confirm the action before proceeding.