


This tutorial will guide you in building a data model and organizing datasets for maximum efficiency. By the end of this tutorial, you will be able to:
Build your data model from scratch using Data Modeller in Engyn.
Establish relationships between different parts of your data to ensure smooth interaction between data points.
Organize your data using folders and groups to maintain a well-structured and accessible dataset.
Building a Dataset Using the Data Modeller
This step will guide you through building a dataset from scratch and create connection between your data points.
Step 1: Navigate to the Design view of the Model
Go to Model from your left menu
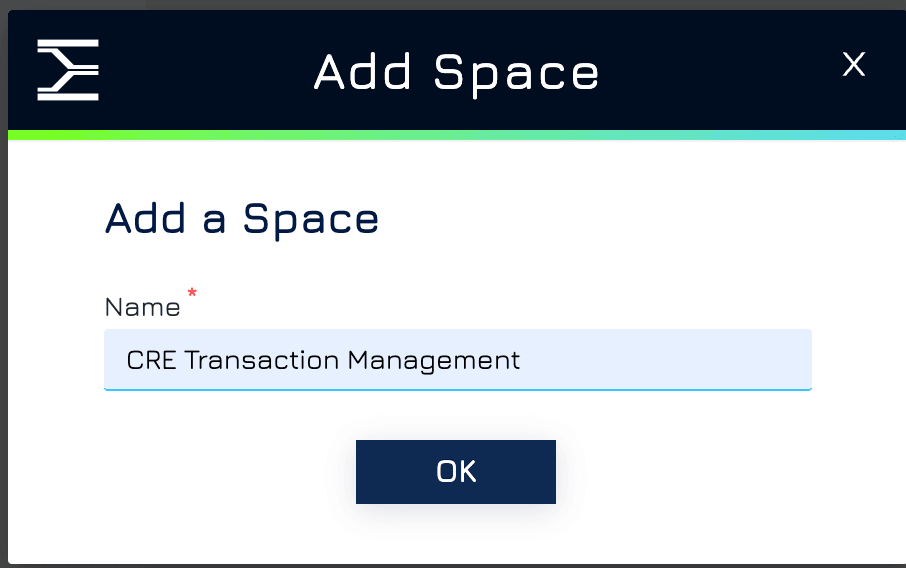
Add Space to store your datasets. You can skip this step and use the available space on your account instead.

Give your space a name and click SAVE
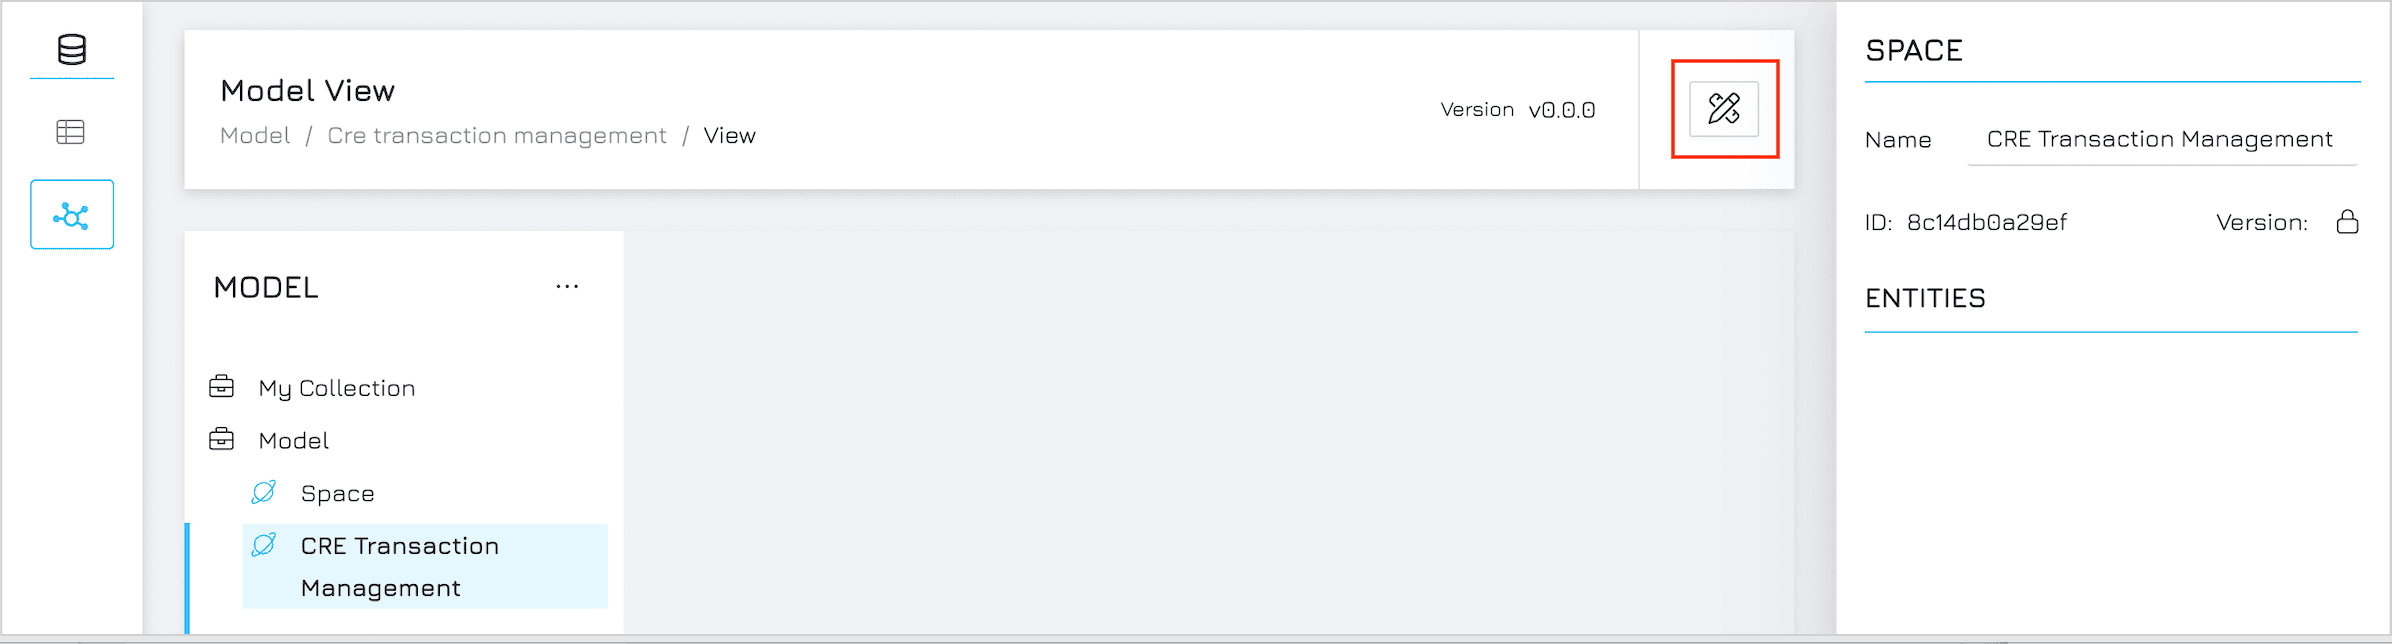
Click on the top right button on the Model screen to access the Design view
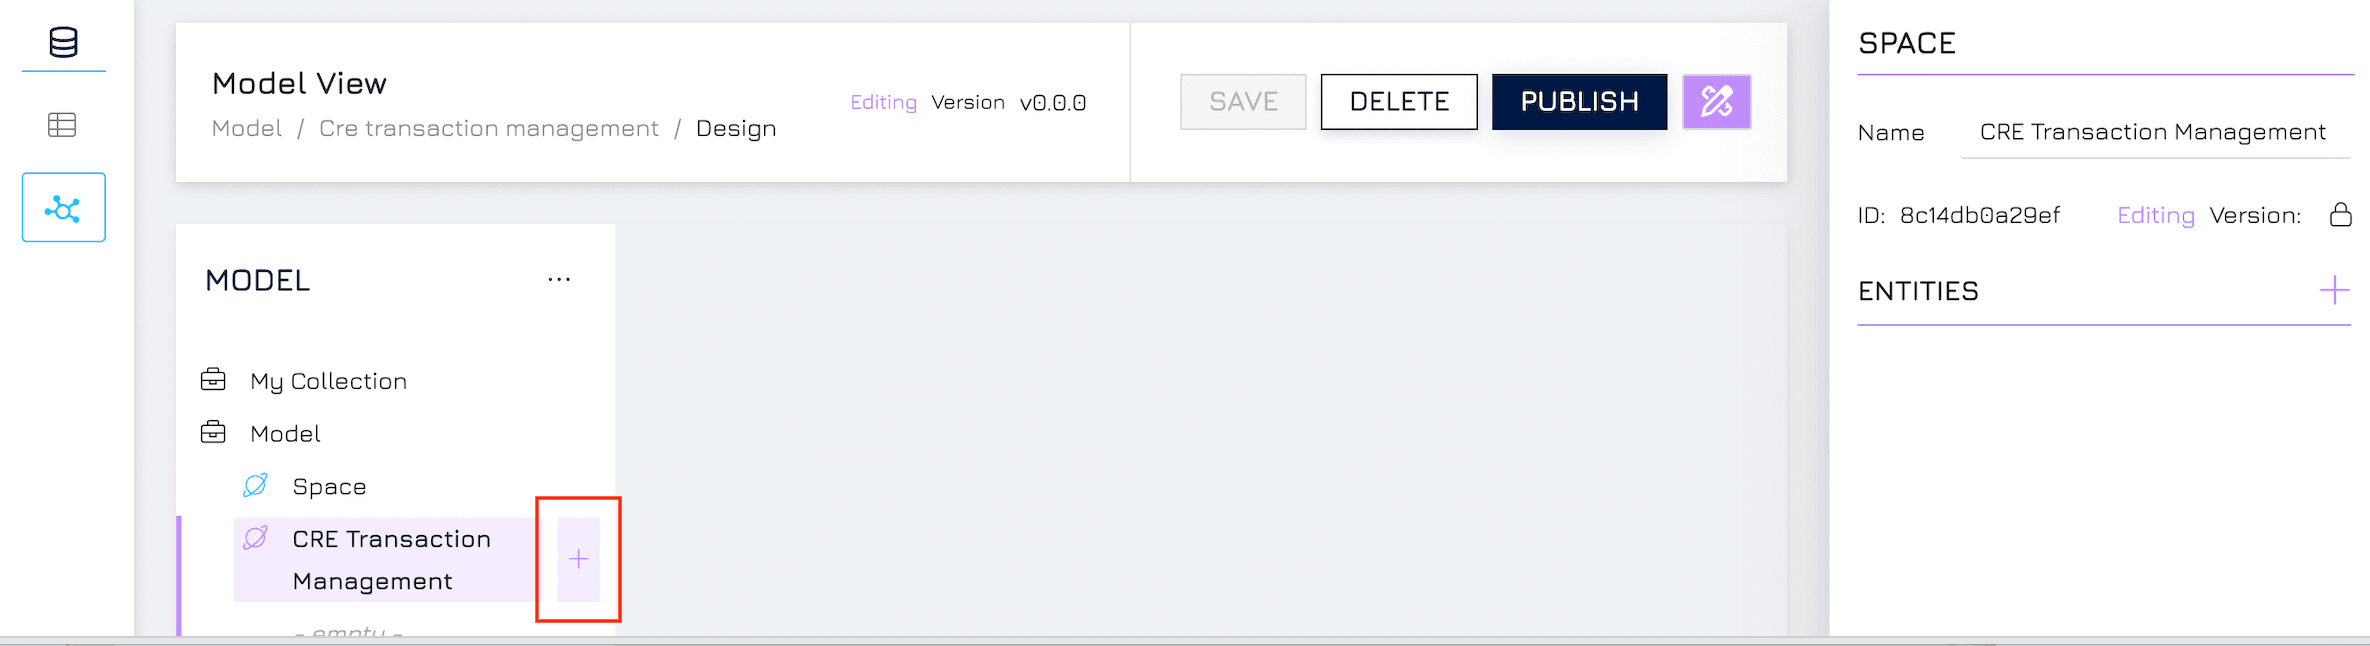
Step 2: Create Objects (Tables)
Click + to add an Object
Enter your Object name and click ADD
Double-click on the newly created Object Name to enter its object view. This is where you define Properties (column) for each Object.
Click Add Property
Define Properties: Name, Description, Data Type
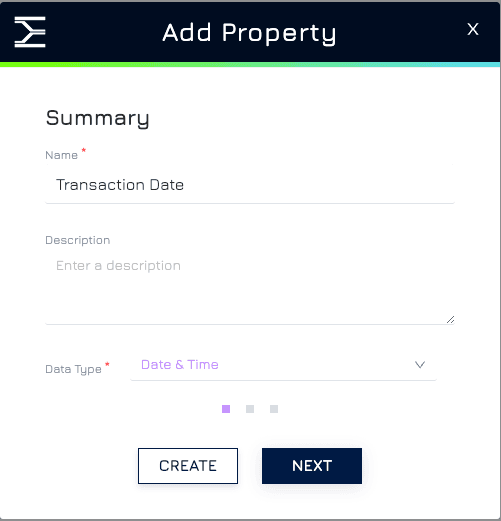
Click NEXT to further define your Property such as: Sub-type, settings
Once you've filled in the necessary information, click CREATE
Continue adding properties to your object until you've captured all the relevant data points.
Step 3: Connecting Objects (Relationships)
Double-click on the object name again to enter the Space View
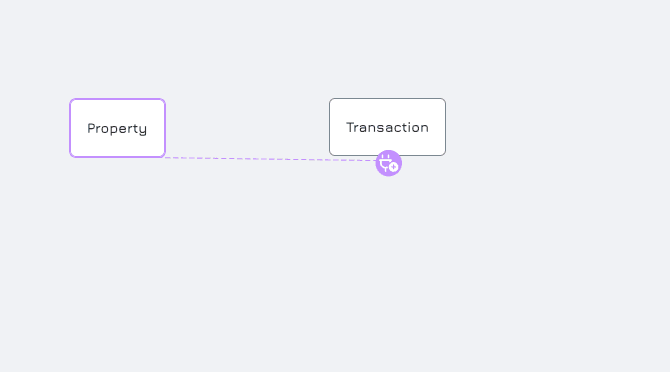
Drag and drop the relationship icon from the current table to the table it should be connected to. (e.g., Drag from "Property" to "Transaction" if a property can have multiple transactions)
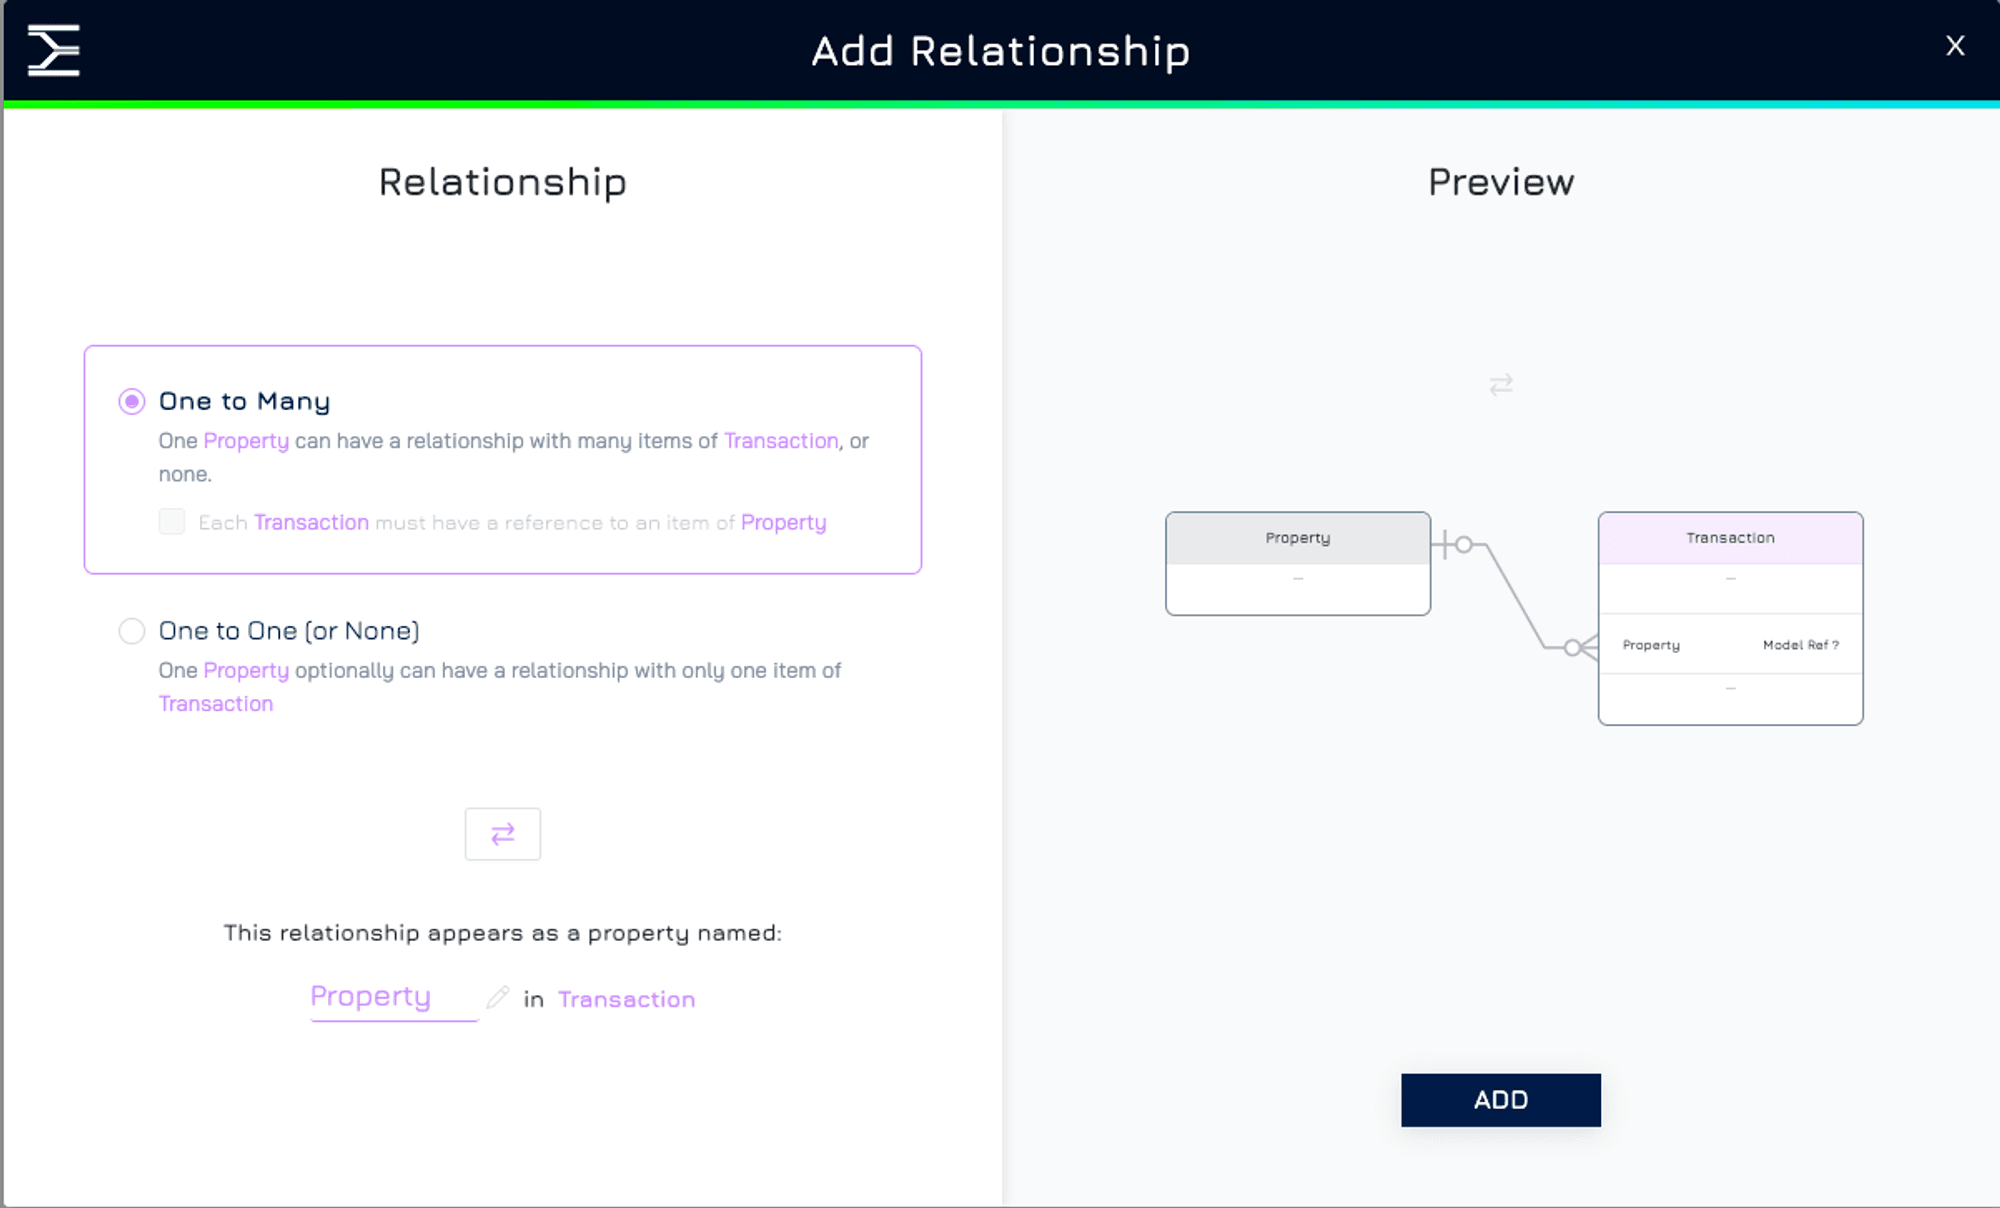
Decide the relationship type and click ADD
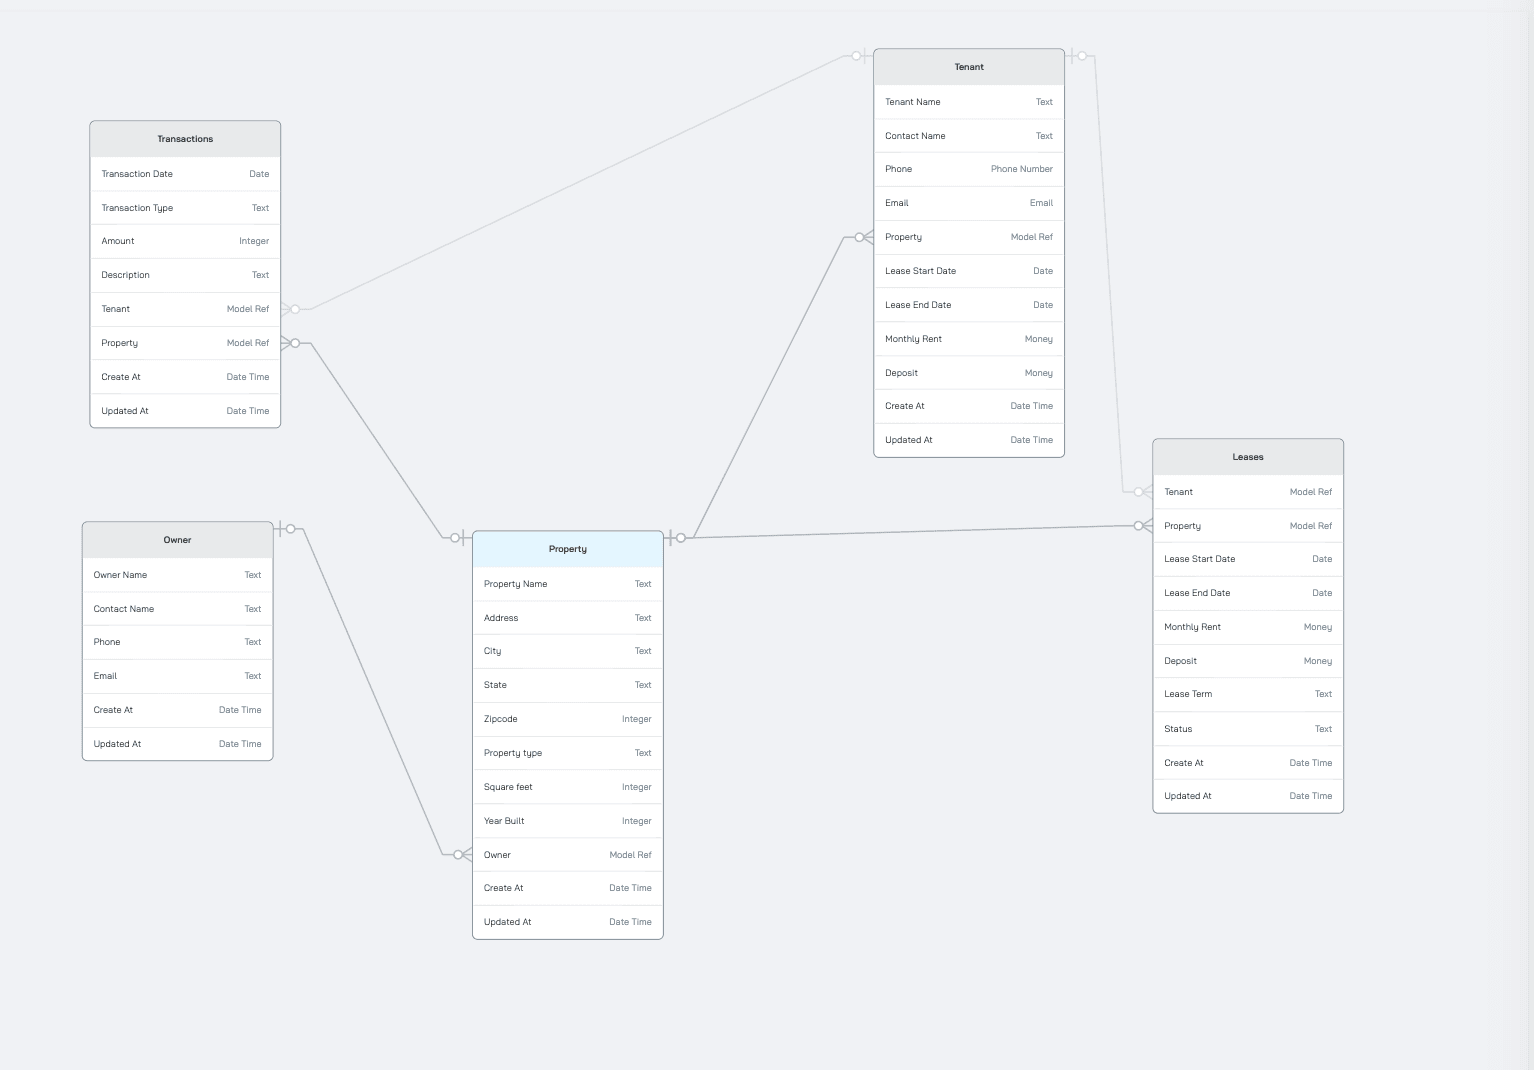
Repeat steps to create relationships between other tables as needed. You can also double-click any table icon to view its established relationships.
Term explains:
Objects: Imagine you have a spreadsheet, each object represents a single table within that spreadsheet
Properties: Within each object, you have properties that define the specific details you want to track. They're like columns in a table, holding specific data types (text, numbers, etc.).
Relationships: These are connections between objects, showing how they're linked. For instance, a "Customer" might have a relationship with an "Order," showing who placed the order. They act like bridges between your data.
Organizing Your Dataset
This step will guide you through organizing your dataset using folders and groups.
Organizing with Folders:
Go to Dataset by using the left menu. This is where you can find all of your available datasets:
My Collection: This contains your private datasets.
Shared Data: Here you'll find datasets shared by you or shared with you by others.
Hover over the place where you want your folder to be located and click on the three-dot icon
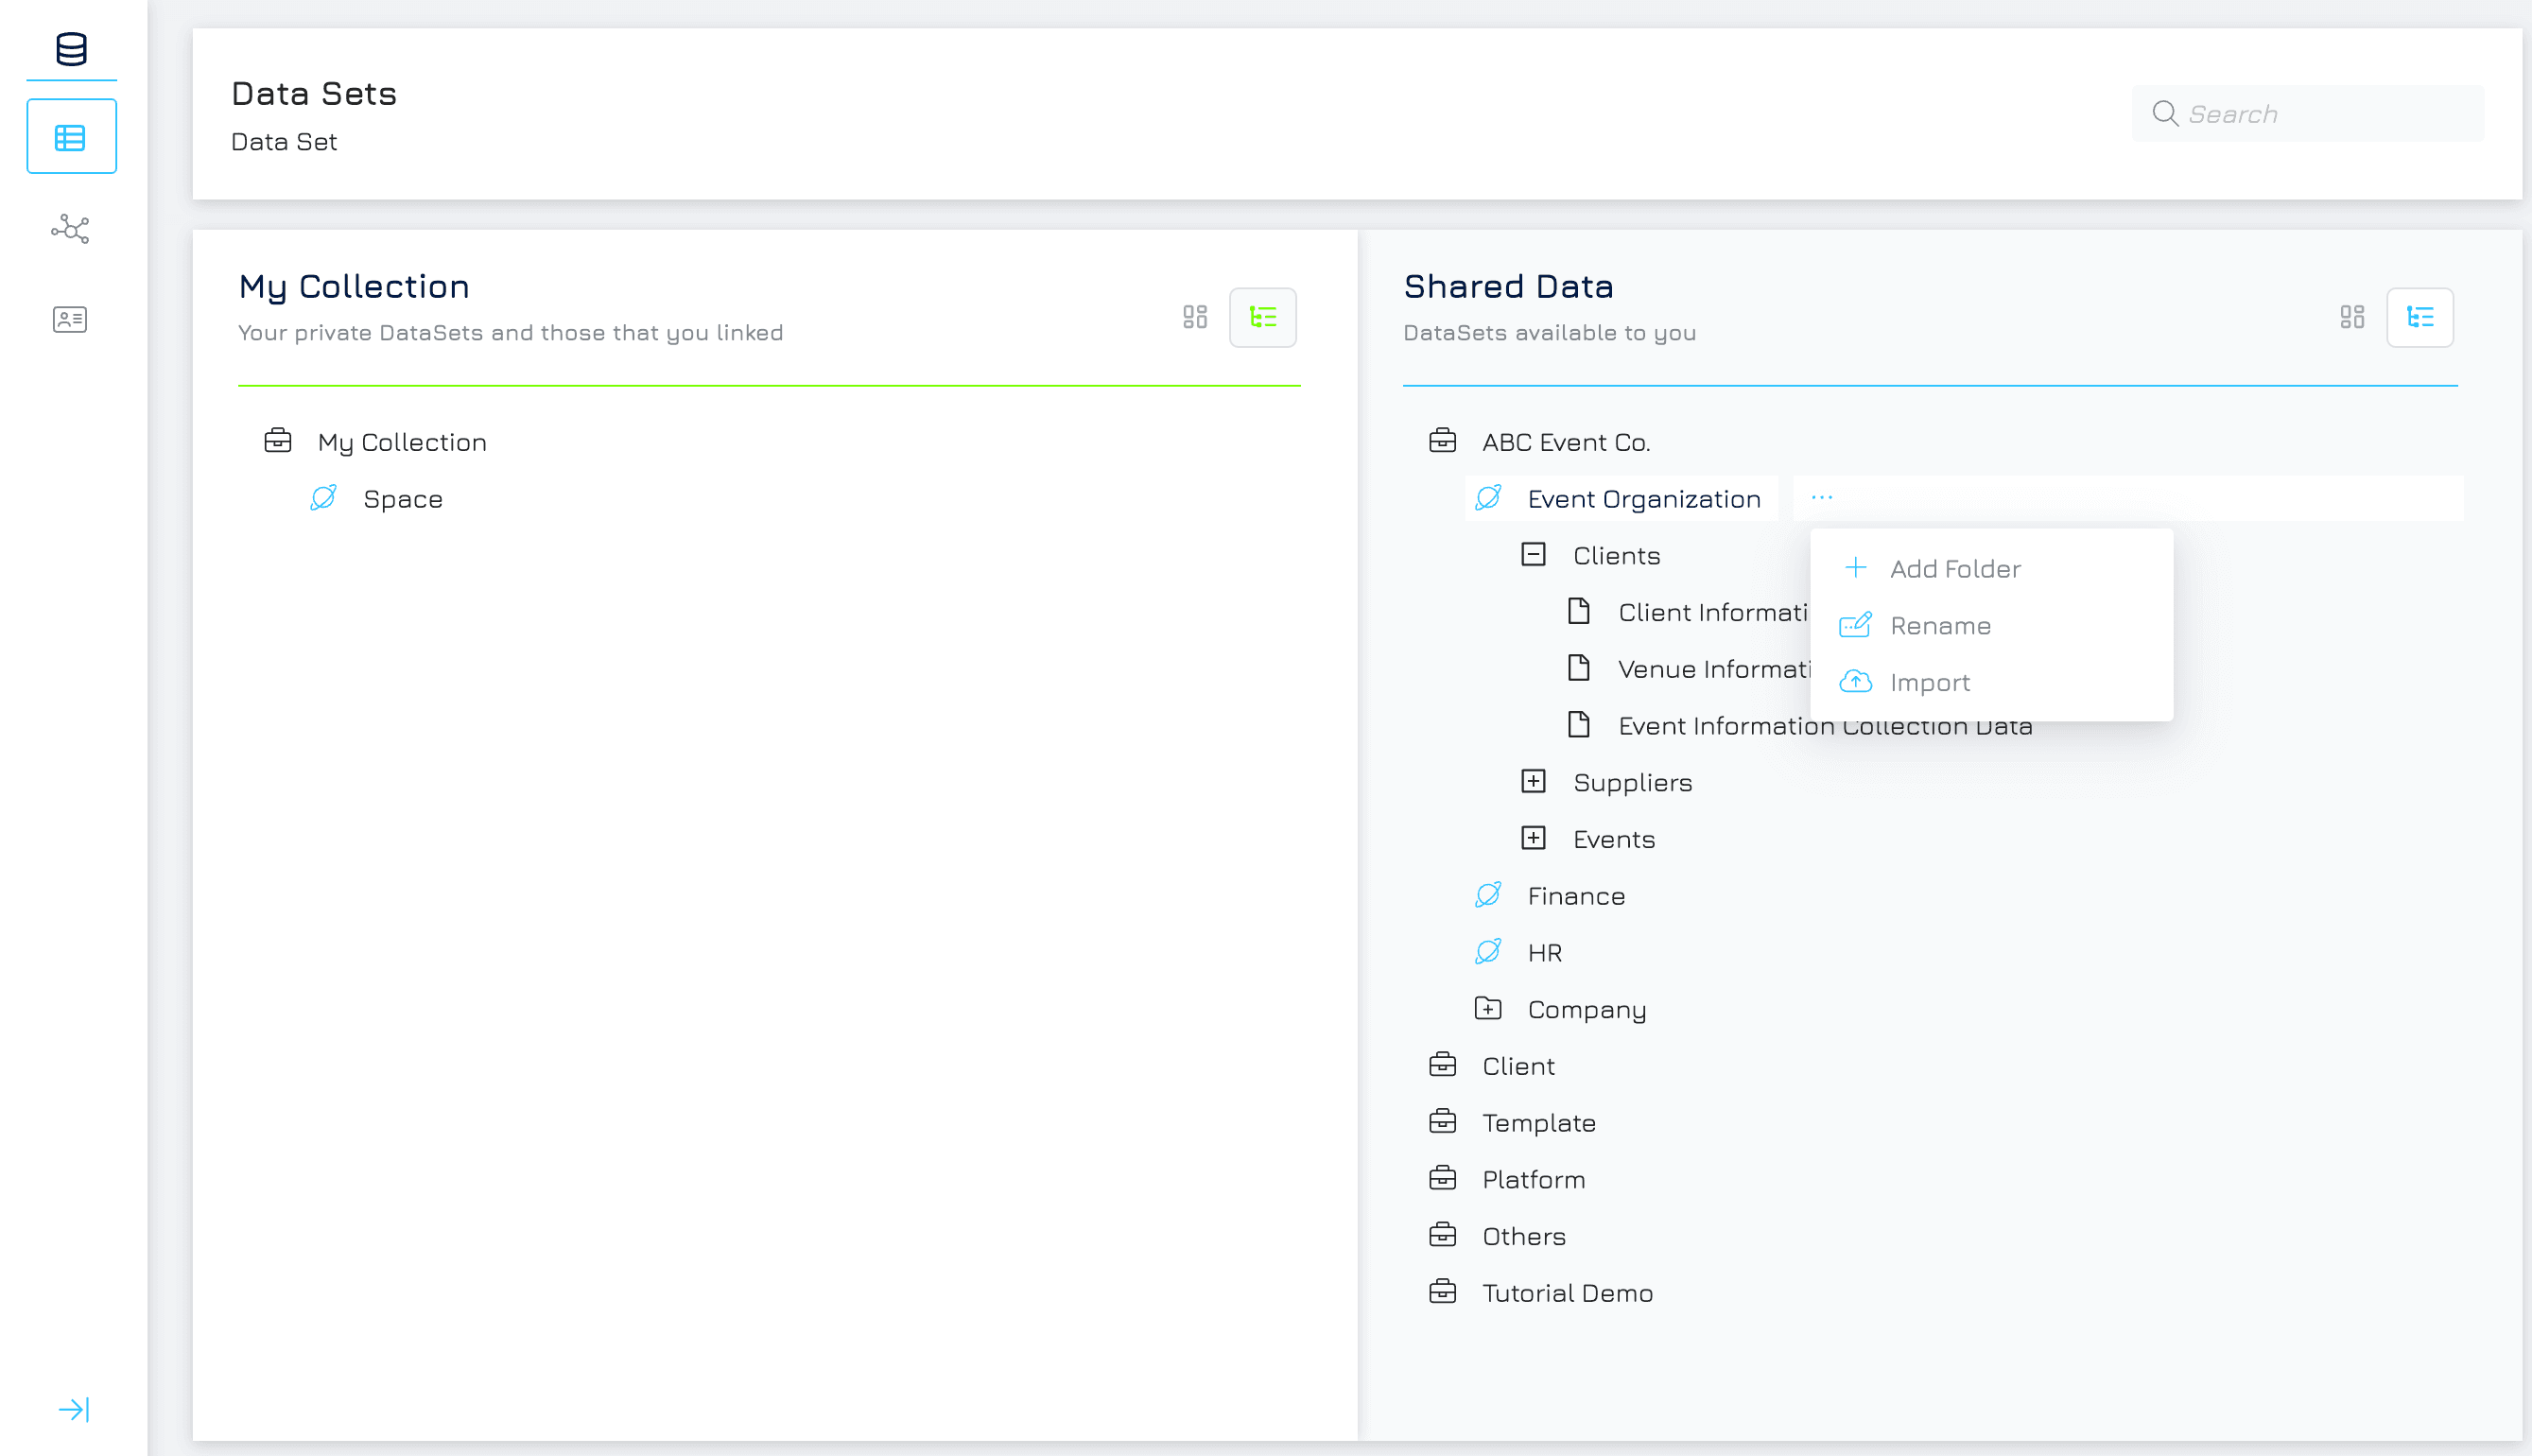
Choose Add folder
Give your folder a clear and descriptive name
Drag and Drop your dataset onto the desired folder.
Organizing with Dataset Group
In addition to folders, Engyn offers another classification tool for further categorization called Dataset Group. Consider Dataset Groups as labels for your data. You can assign Dataset Groups based on the main theme or topic that the data explores. This feature enables you to quickly locate all datasets relevant to a specific subject, such as "Customer Behavior Analysis" or "Sales Performance Tracking."
Creating Dataset Groups:
Click on the top right icon to access the Dataset Group
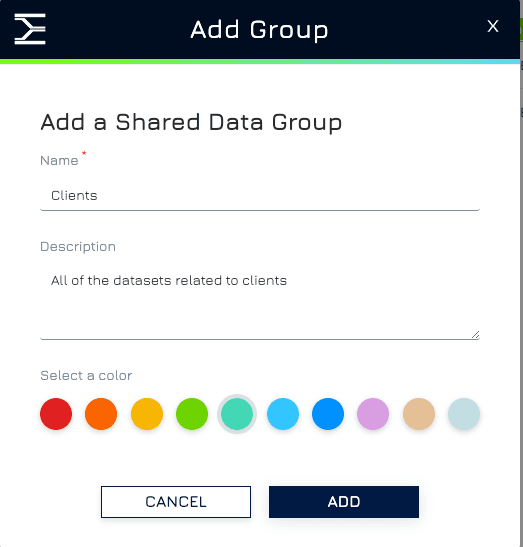
Click Add Dataset Group.

Fill out the information:
Choose a name and description for your group
Pick a colour to easily identify the group visually.
Click ADD to create the group.
Adding Datasets to Groups
Go to the Shared Data view (or your private collection if the datasets are private).
Find the dataset you want to add to a group.
Hover over the dataset name until you see three dots appear.
Click the three dots and choose either "Add To Private Group" or "Add To Shared Group" depending on the group nature (private or shared).
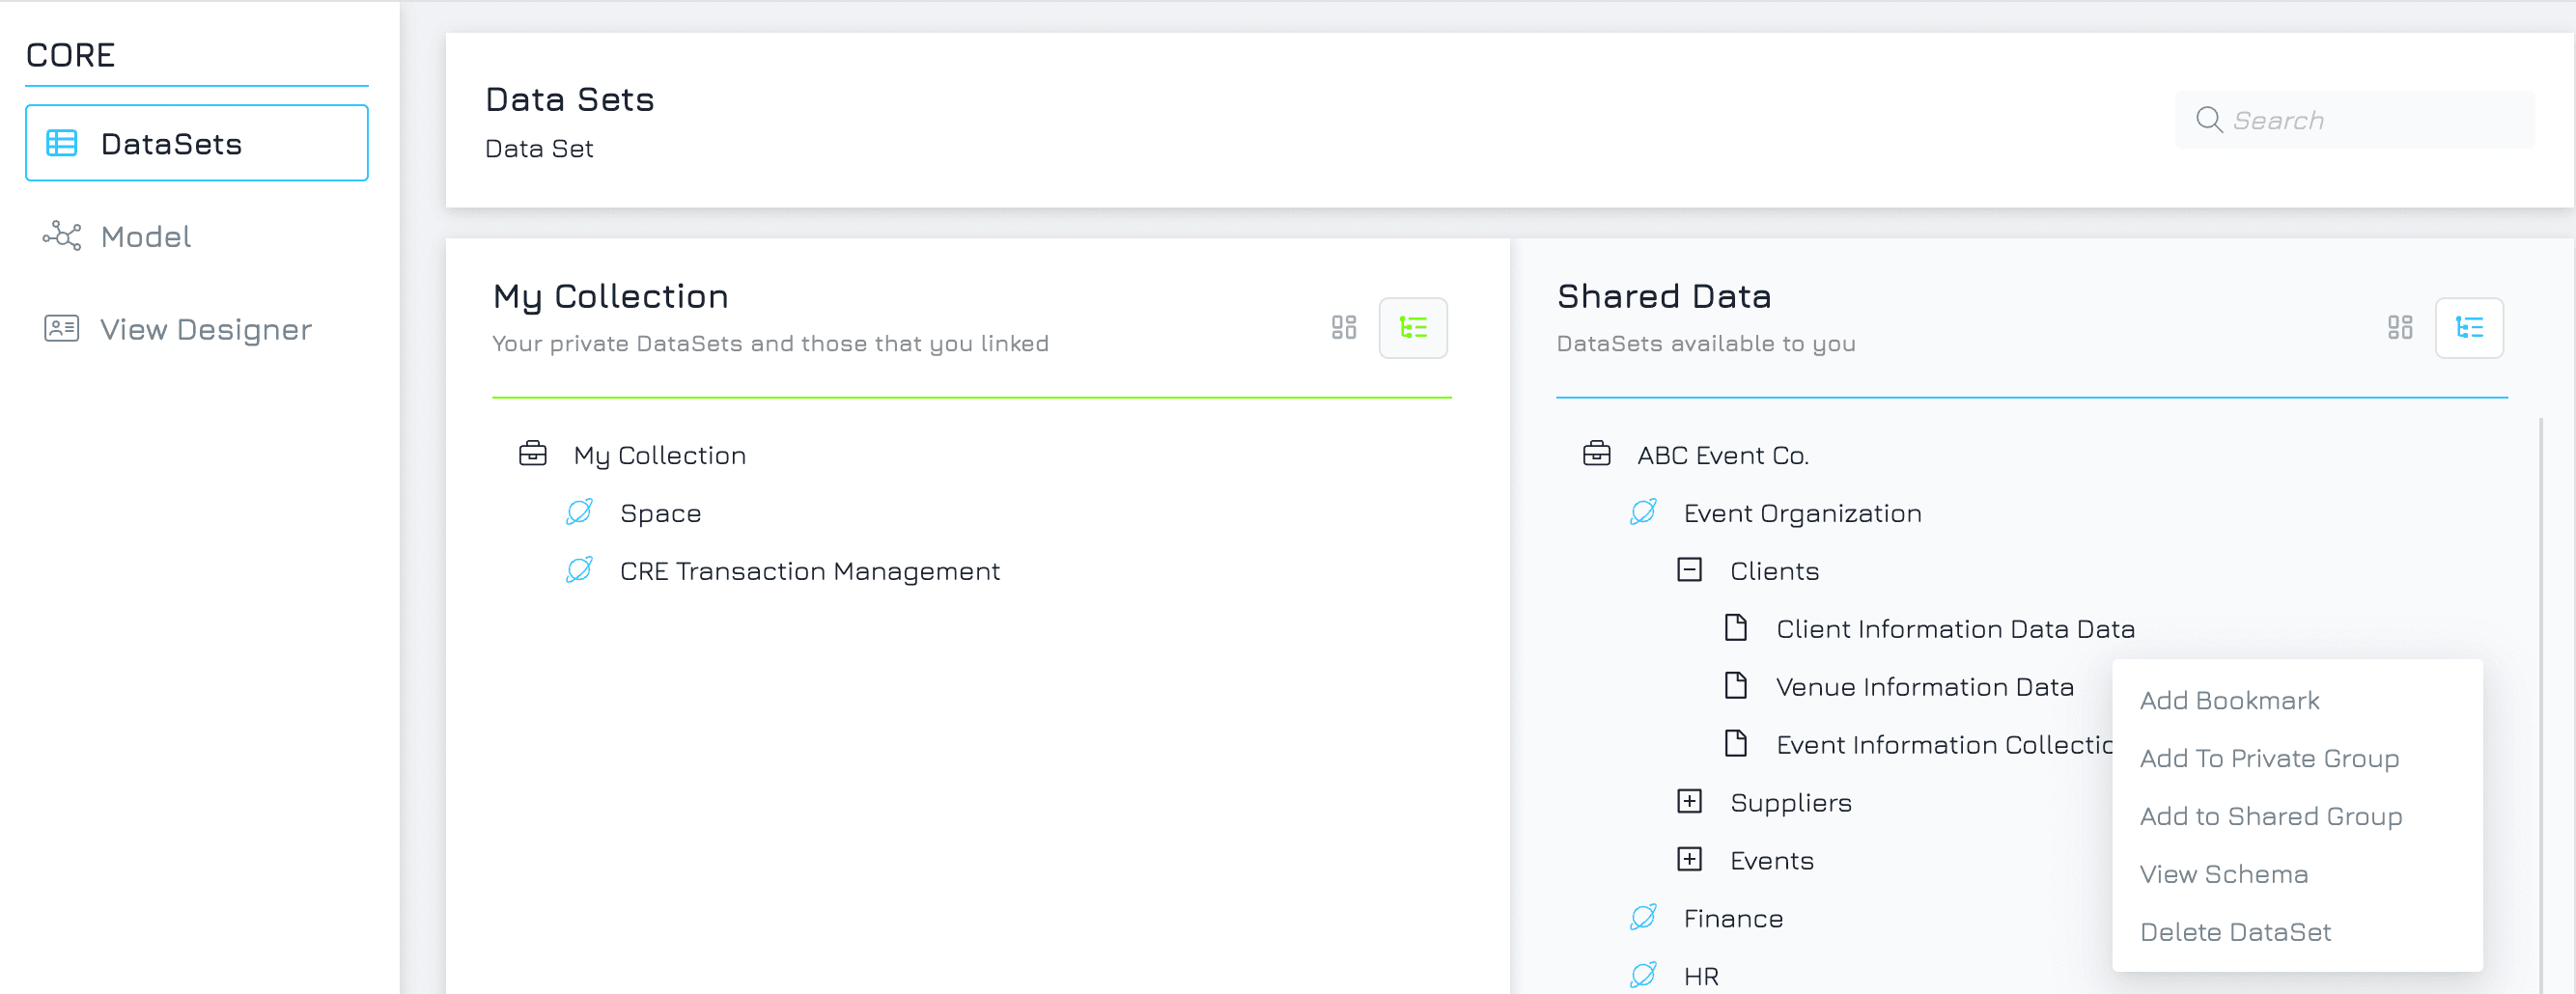
Select the desired group from the list.
Tip: Use a combination of folders and groups for optimal organization. Folders can group datasets by project or source, while groups can categorize them by theme or analysis type.