Make it easier for users to take action directly from their inbox by adding custom buttons to emails sent via Automations. Instead of manually navigating to a record, users can approve, reject, or trigger other actions with a single click.
This is especially useful for workflows like approving requests, confirming tasks, or escalating issues—all from your email inbox.
How It's Done
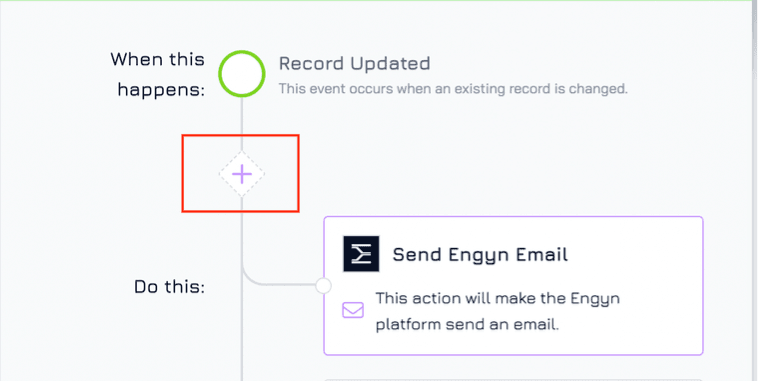
When configuring an Automation to send an email, go to the Actions section and add a button. Map this button to trigger a different Automation that you have already setup previously. You can also configure which view should load after you click the button.
Example
To illustrate how to do this we will setup a simple Leave Request solution where team members can submit a leave request to their manager. When a leave request is submitted, an automation is setup to send an email notification to their manager. We will add two buttons to this email, one to Approve the request and another to Decline the request. The manager receiving the email can easily respond to the request by clicking a button within the email.
Step 1: Set Up a Leave Request Flow
First, create a Leave Request workflow that includes:
A Leave Request Form where employees can submit leave requests.
Include a Status field to track approval progress (Pending, Approved, Declined).
An Automation that notifies the manager when a new request is submitted.
Actions based on the manager’s decision:
If Approved: Send a notification email to the employee and create a calendar event for the approved leave period.
If Declined: Send a notification email to the employee (including the reason if provided).
If you don’t have this workflow setup yet, refer to this tutorial for a step-by-step guide.
Step 2: Set Up Button Triggered Automation to Change Status
Instead of requiring the manager to manually update the request, we’ll automate status changes through button-triggered actions.
To do this, we will need to setup two generic record event actions to change the status to Approved or Declined in this step.
Go to Automations and create a automation with Generic Record Event trigger
Select Engyn → Core → Update Same Record.
Configure an action to update the leave request record:
Status → Approved
Decided by → Current User
Name the Automation Approve Leave Request for clarity.

Create a second Automation for Decline Leave Request using the same steps but setting Status → Declined.
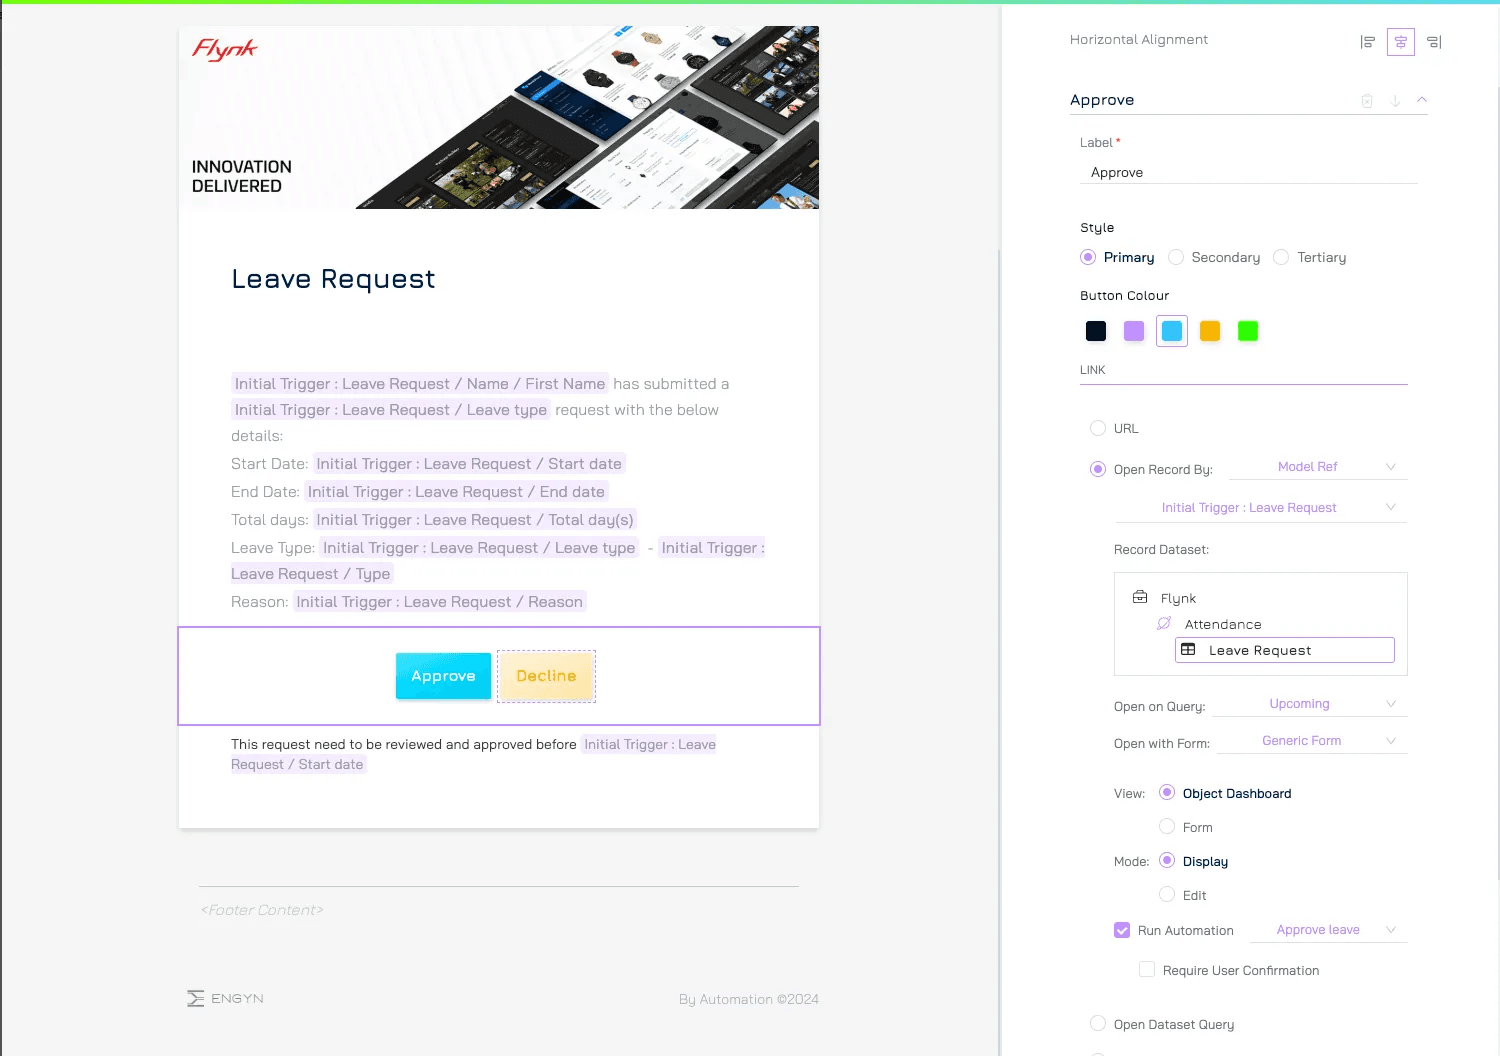
Step 3: Add Action Buttons to Email Notifications
Now, we’ll embed approval and decline actions into the email notification sent to the manager, allowing them to take action directly from their inbox.
Open the Send Email Automation that sends notifications to the manager when a leave request is submitted.
Navigate to the Actions section and click Add Button.
Set up the Approve button:
Label: Approve
Select Open Record by Model Ref → Choose Leave Request Data
Enable Run Automation → Select Approve Leave Request
Configure other settings as needed:
Button colour and style for visibility.
Form and Form Mode for record interaction.
View and Query to control how the record opens.
Add a Decline button following the same steps but linking it to the Decline Leave Request automation.
That’s it! Now users can respond quickly to emails they receive without having to jump into a different system and find the relevant item before taking action.
Take Away
Allowing users to action a response to steps in their workflow straight from their email inbox makes their work faster, simpler and easier, helping your team work happier and more productive.